Indication
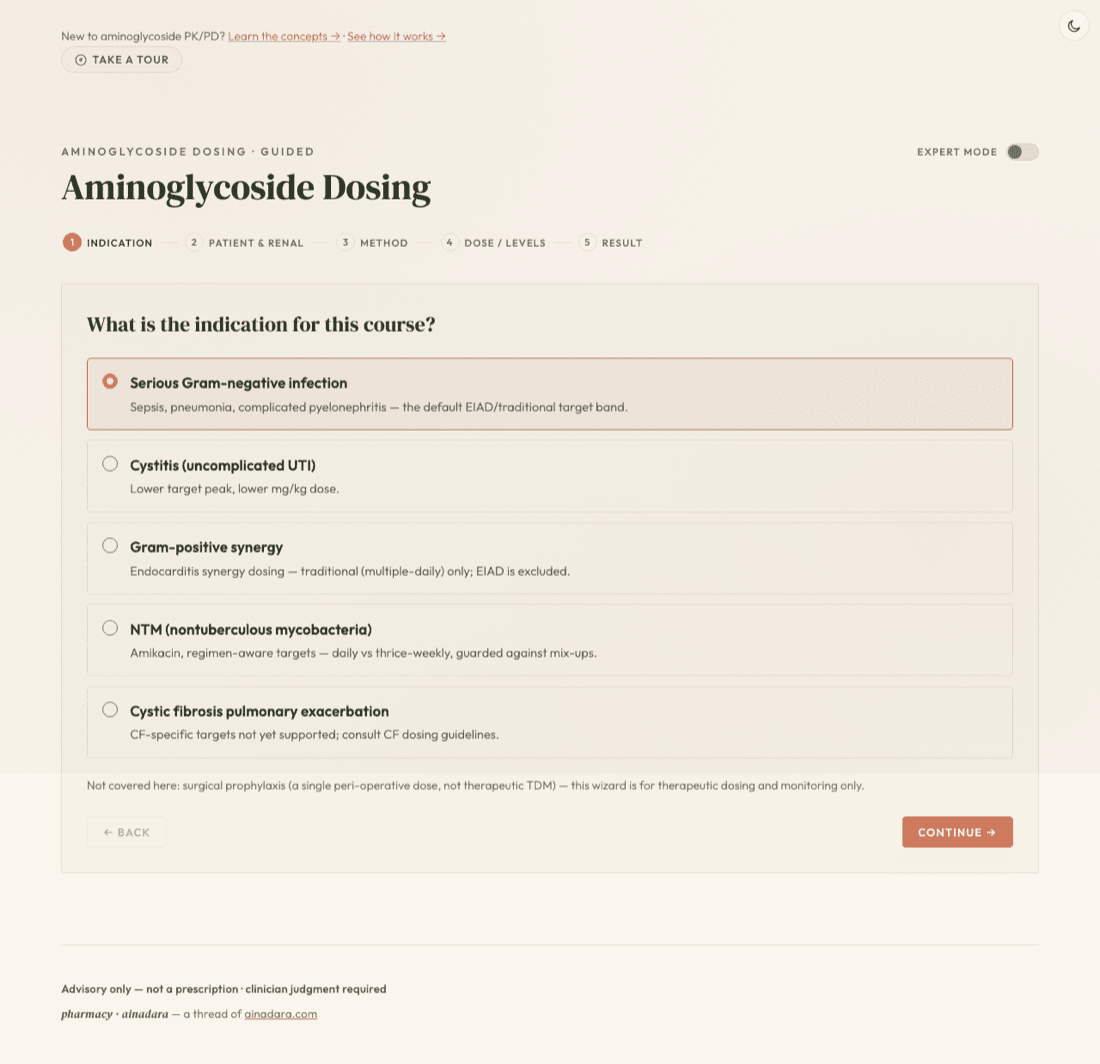
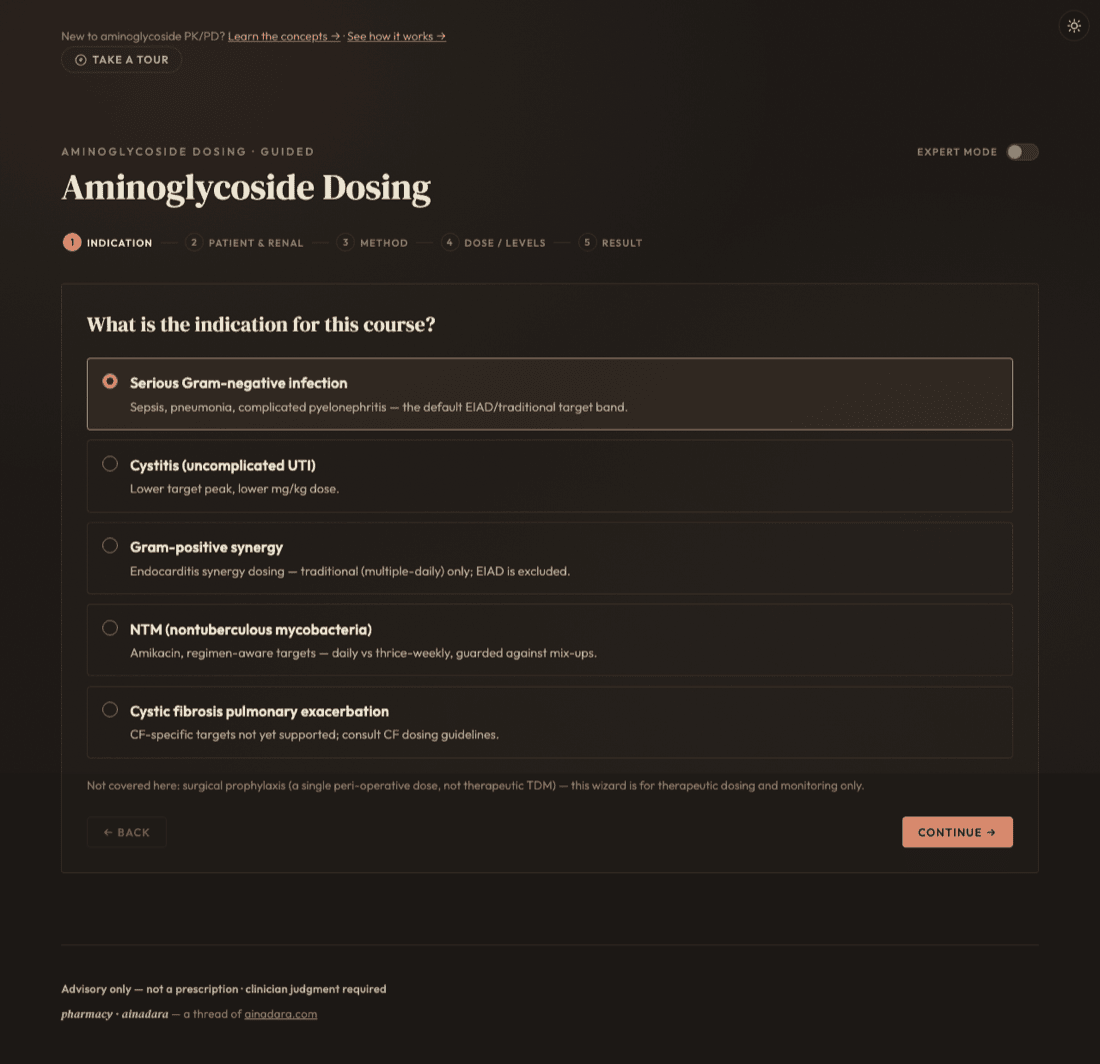
Everything downstream starts here: the indication picked on this screen sets the target peak/trough band and which methods are even on the table. Choosing NTM (nontuberculous mycobacteria) reveals a second, required choice — daily or thrice-weekly — because the two schedules carry different amikacin targets against the same drug.
Five indications, five target bands: serious Gram-negative is the default EIAD/traditional path; cystitis uses a lower peak and lower mg/kg dose; gram-positive synergy and NTM each carry their own regimen-specific targets.
NTM's sub-choice matters: daily targets a peak of 35–45 mcg/mL, thrice-weekly targets 65–80 mcg/mL. Applying one schedule's target to the other is a real, documented mix-up — the tool checks the pairing and warns rather than silently accepting either number.
Cystic fibrosis routes to a caution, not a computed dose — this engine has no CF-validated population defaults. Gram-positive synergy locks out extended-interval dosing outright (traditional/multiple-daily only).
Patient & renal
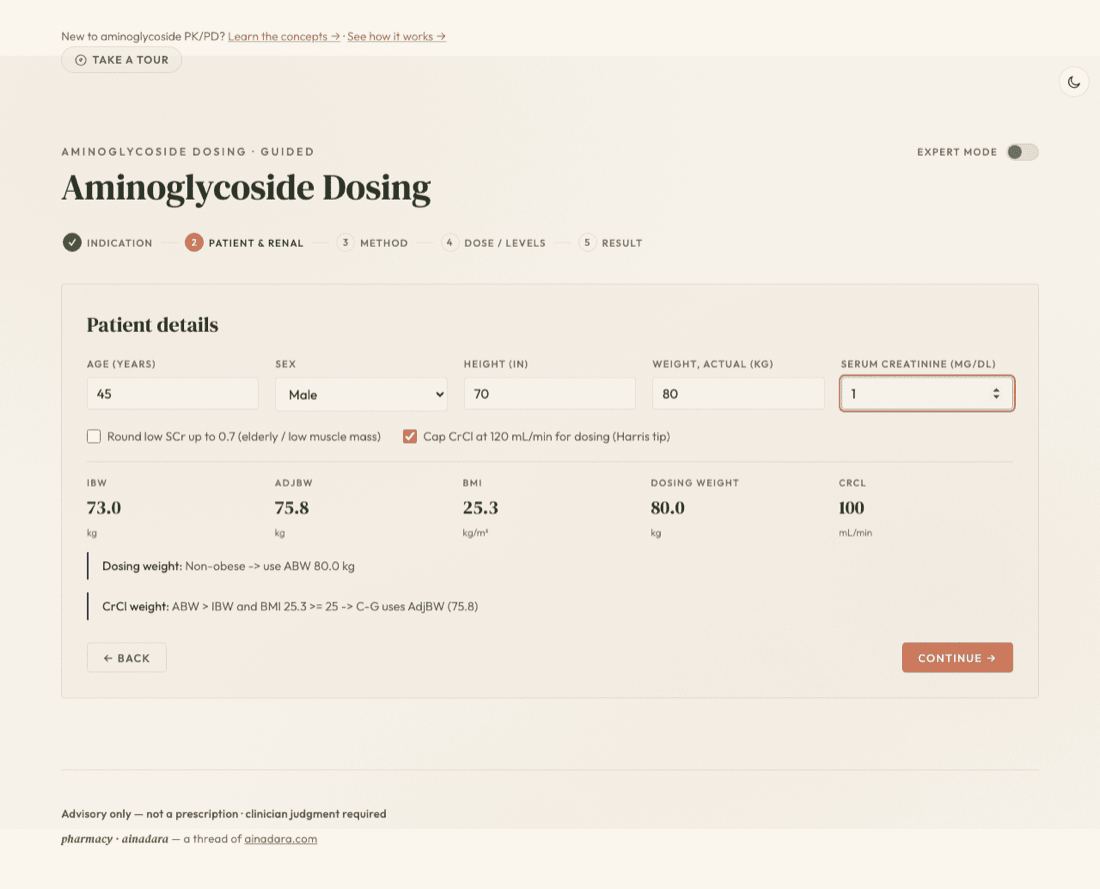
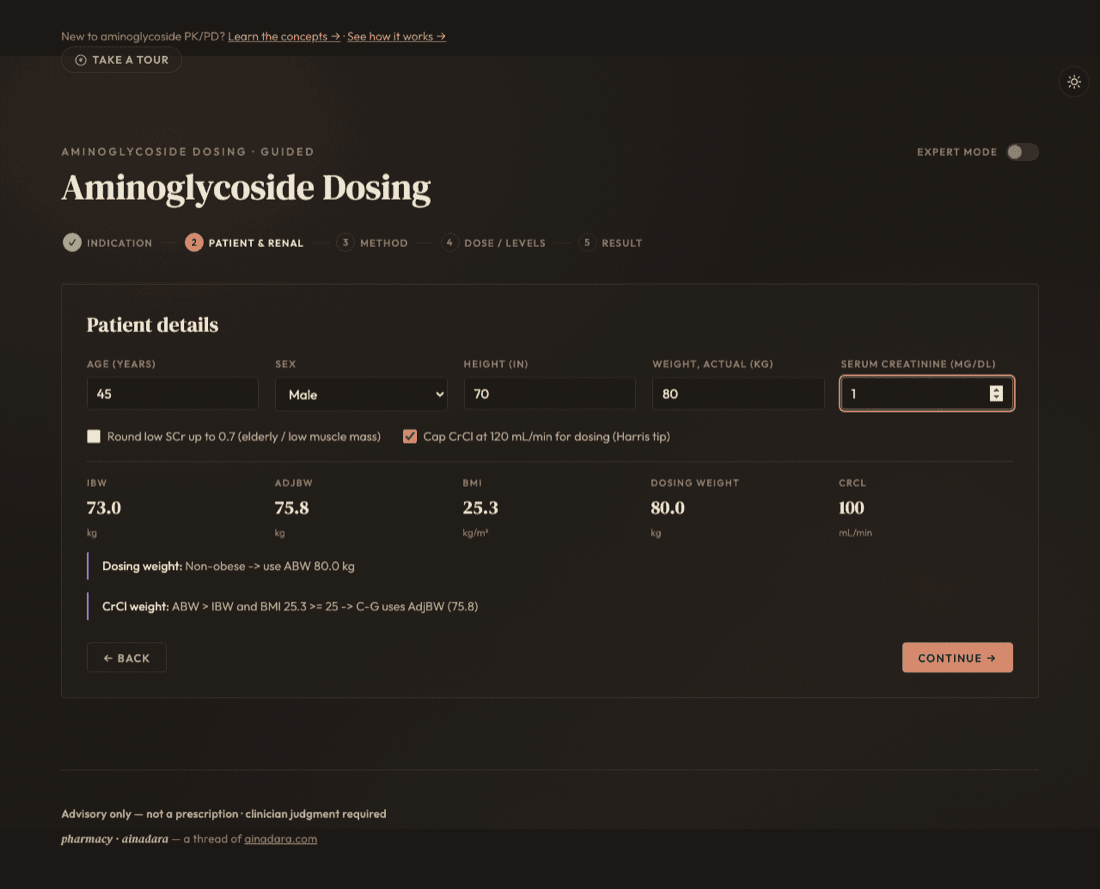
Age, sex, height, weight, and serum creatinine feed a live readout — no separate "calculate" step, no re-derivation later. As soon as all five fields are filled, IBW, AdjBW, BMI, dosing weight, and CrCl (Cockcroft–Gault) appear and update on every keystroke.
CrCl is the number that drives everything downstream — it decides the extended-interval dosing interval on the next screen and feeds every renal-adjusted calculation after it. Get weight and SCr right before trusting anything past this screen.
Two toggles quietly change that CrCl: round low SCr up to 0.7 (elderly/low muscle mass — opt-in, off by default) and cap CrCl at 120 mL/min (the Harris tip — on by default). Both are deliberate conventions, not accidents, so read their actual state rather than assume.
Method
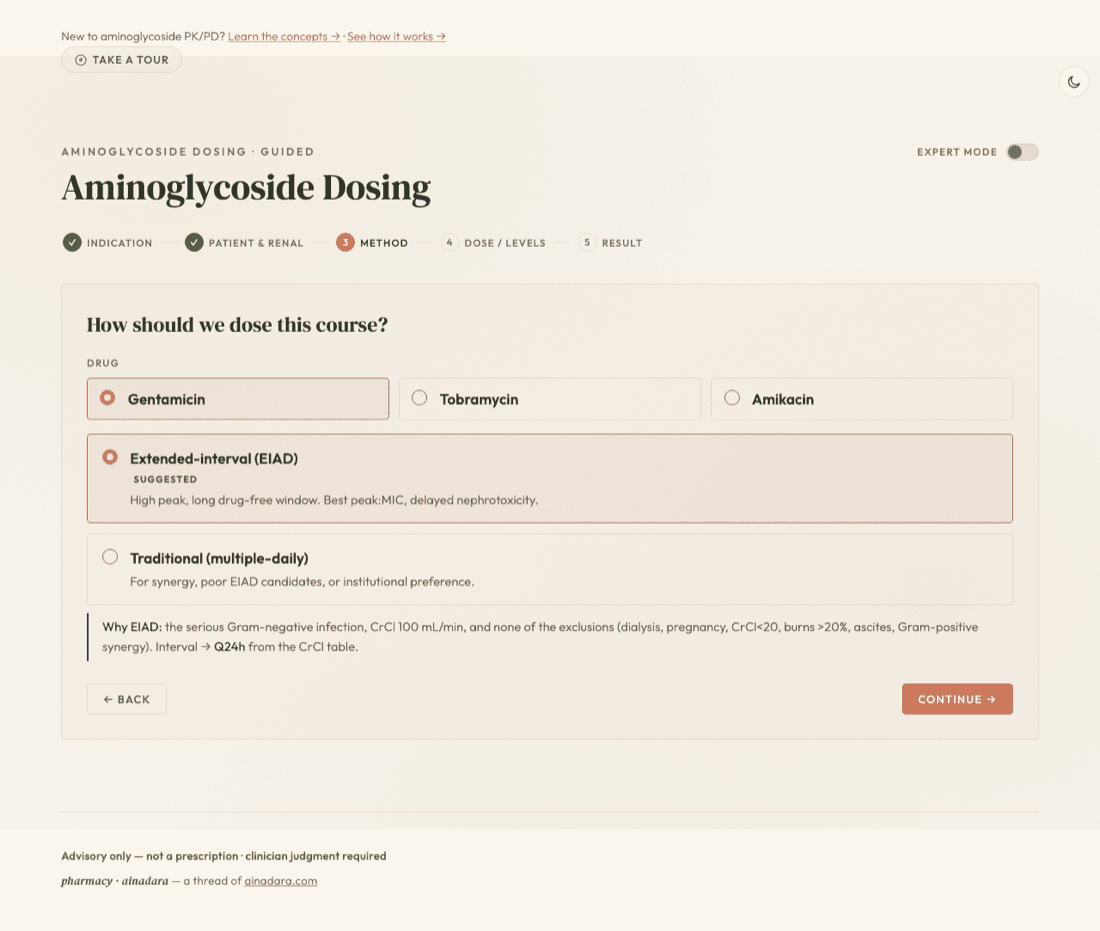
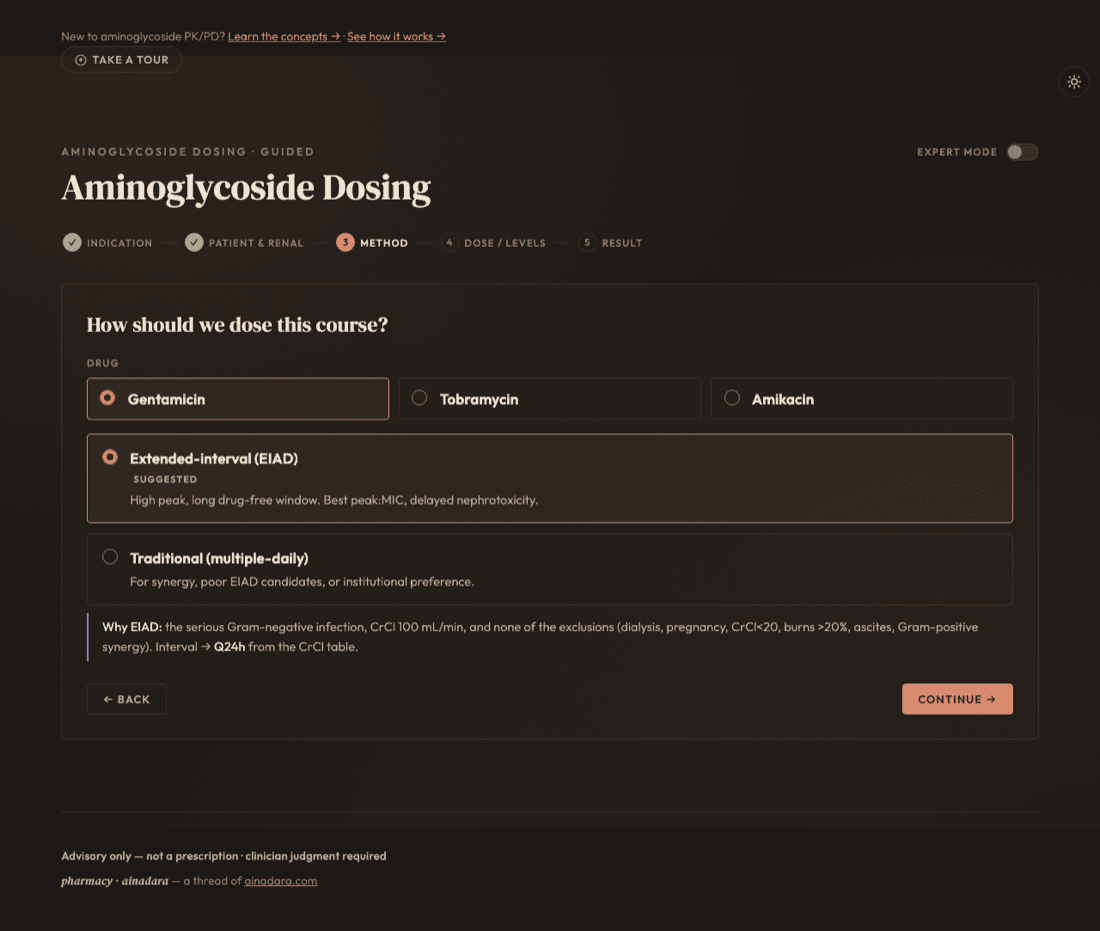
The tool auto-suggests extended-interval (EIAD) or traditional dosing from the patient's CrCl and a fixed exclusion list, and says why in plain language rather than just naming a method. NTM courses lock to amikacin (the only aminoglycoside this engine has NTM target data for); every other indication chooses freely between gentamicin, tobramycin, and amikacin.
The why is shown, not just the recommendation: EIAD is offered unless a real safety exclusion applies — dialysis, pregnancy, CrCl < 20, burns, ascites, or gram-positive synergy.
This is a genuine safety gate, not a preference toggle: when an exclusion applies, the EIAD card is locked, not just de-emphasized. When both are eligible, the cards preview that method's own target/interval only — the regimen itself is still computed on the next screen.
Dose / Levels
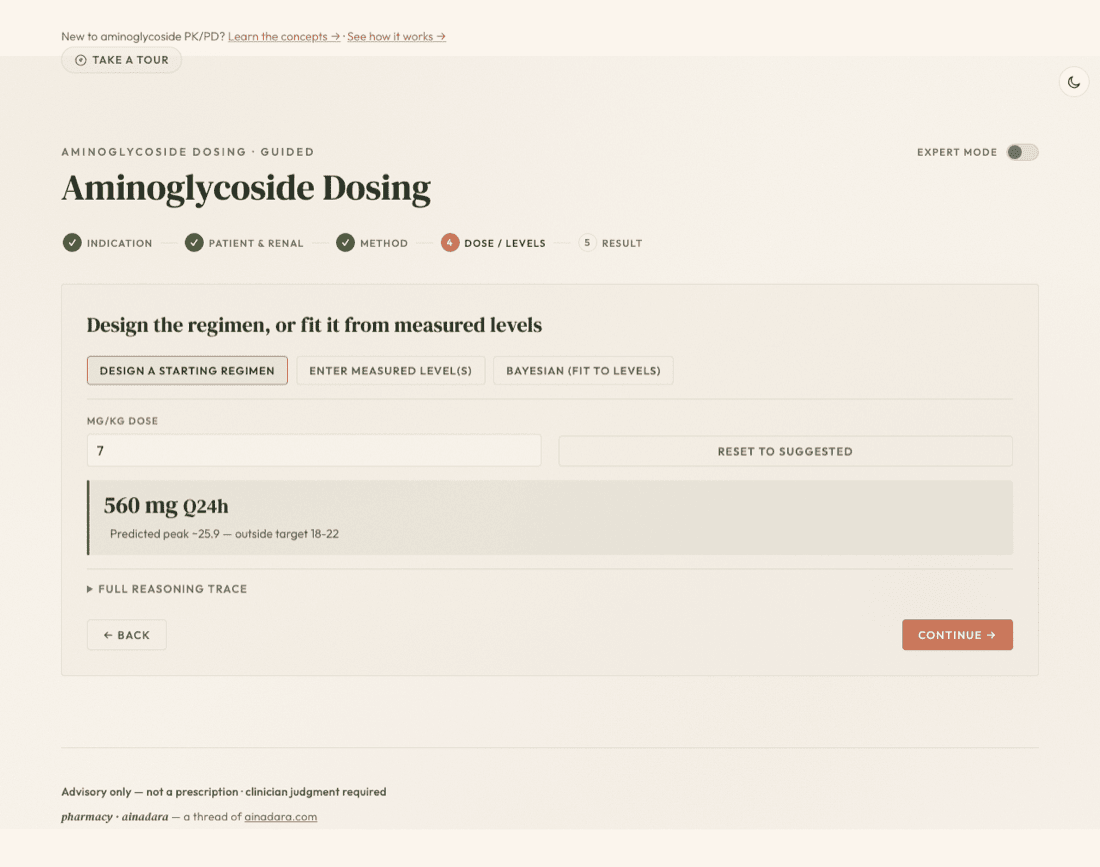
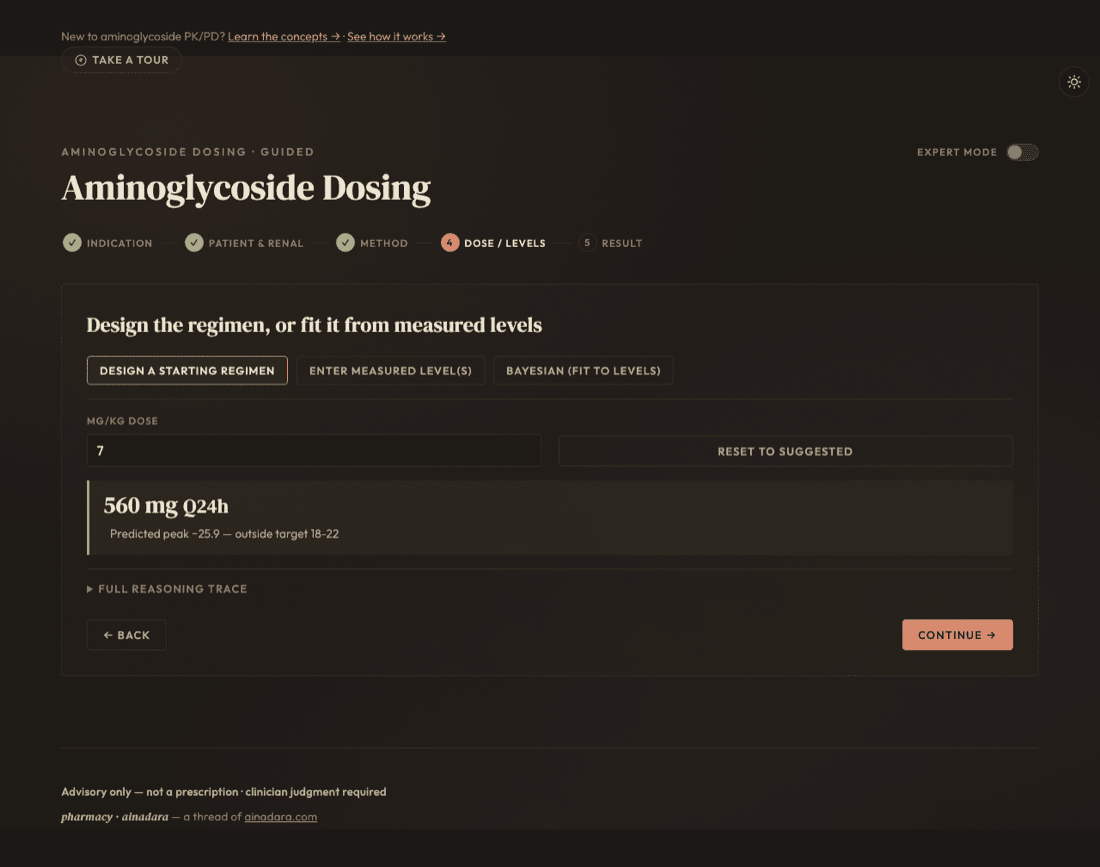
Three tabs, one screen: design a population-based starting regimen from scratch, hand-enter measured level(s) drawn from a patient already on therapy, or let a Bayesian fit combine both. Which one applies depends on where you are in the course, not on preference.
Design a starting regimen — a population mg/kg dose from the method chosen on the previous screen. Enter measured level(s) — two-level (Sawchuk–Zaske) individualization, back-calculating the patient's own elimination rate and volume. Bayesian — a MAP fit that combines population priors with however many levels exist, even a single early one.
Design mode is unavailable for cystic fibrosis (no CF-validated population default exists) — enter measured level(s) instead; individualized PK from real levels doesn't depend on that missing default.
Result
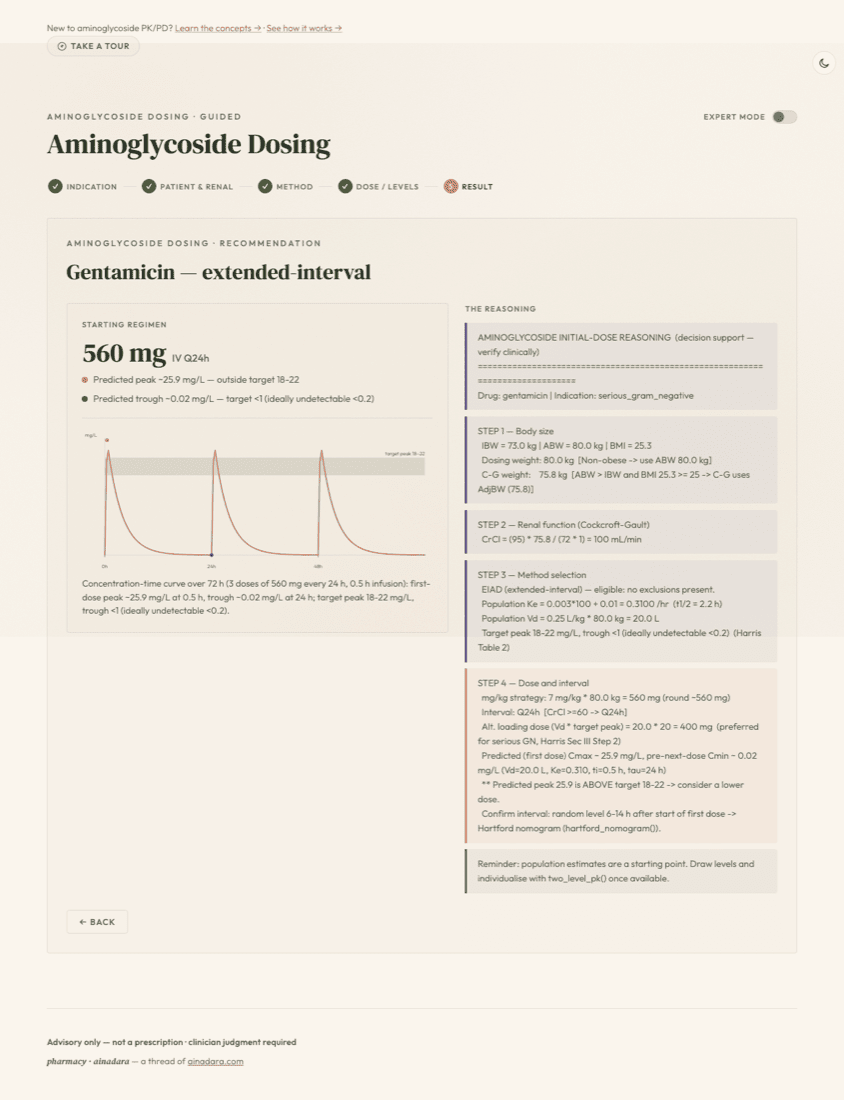
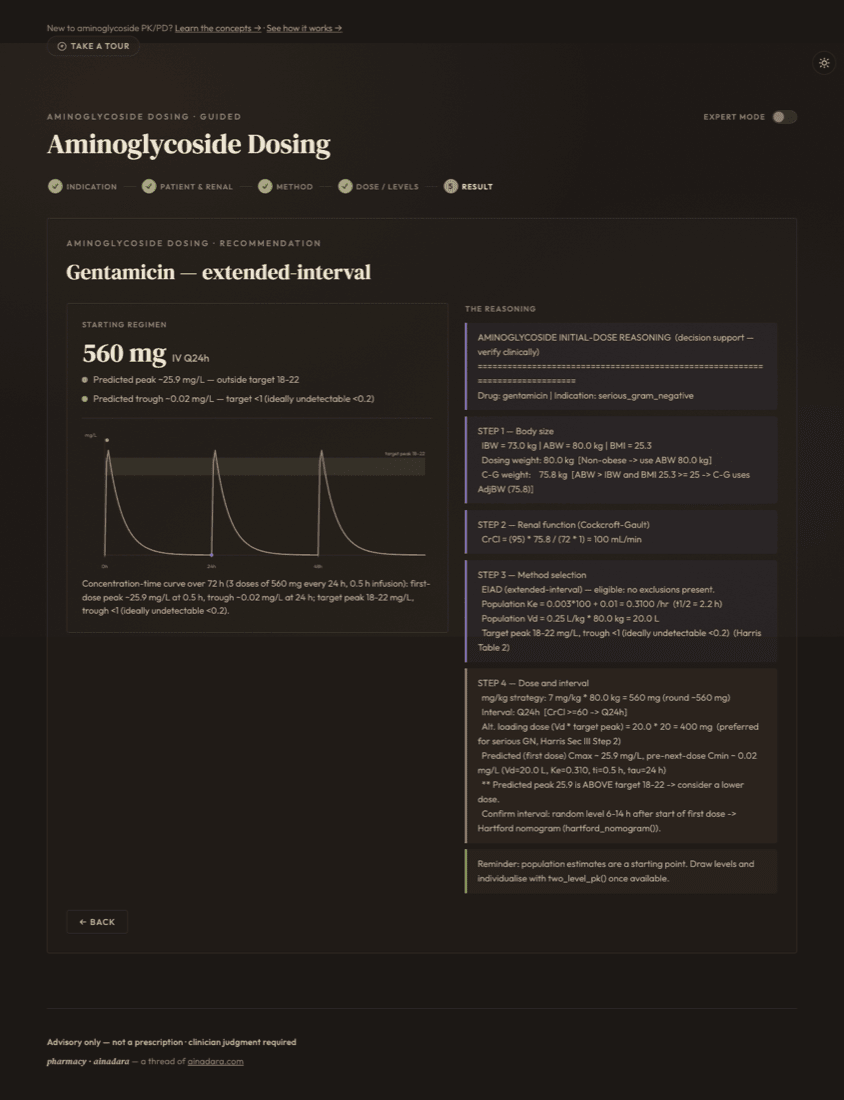
The regimen headline (dose and interval) sits above two flags showing whether the projected peak and trough land inside the target band, and — where a periodic interval applies — the concentration-time curve underneath it. Alongside, the full reasoning trace lists every number the engine computed and the step that produced it.
The peak/trough flags are the fast read: a dot plus a line telling you whether this regimen, as designed, is projected to land inside the target band — not just what the dose is.
Nothing here is a black box: the reasoning column is the same note/caution/protocol callout family used throughout this walkthrough, one entry per intermediate value (IBW, CrCl, Ke, Vd, the target itself) — every number on the page traces back to the step and formula that produced it.
Expert mode
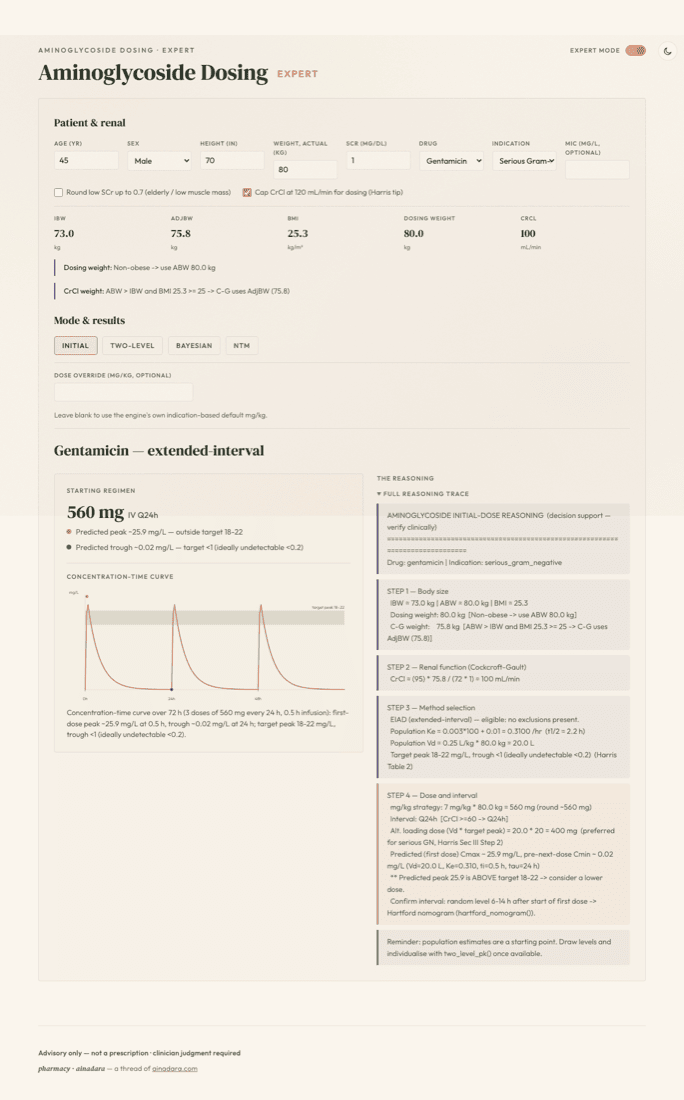
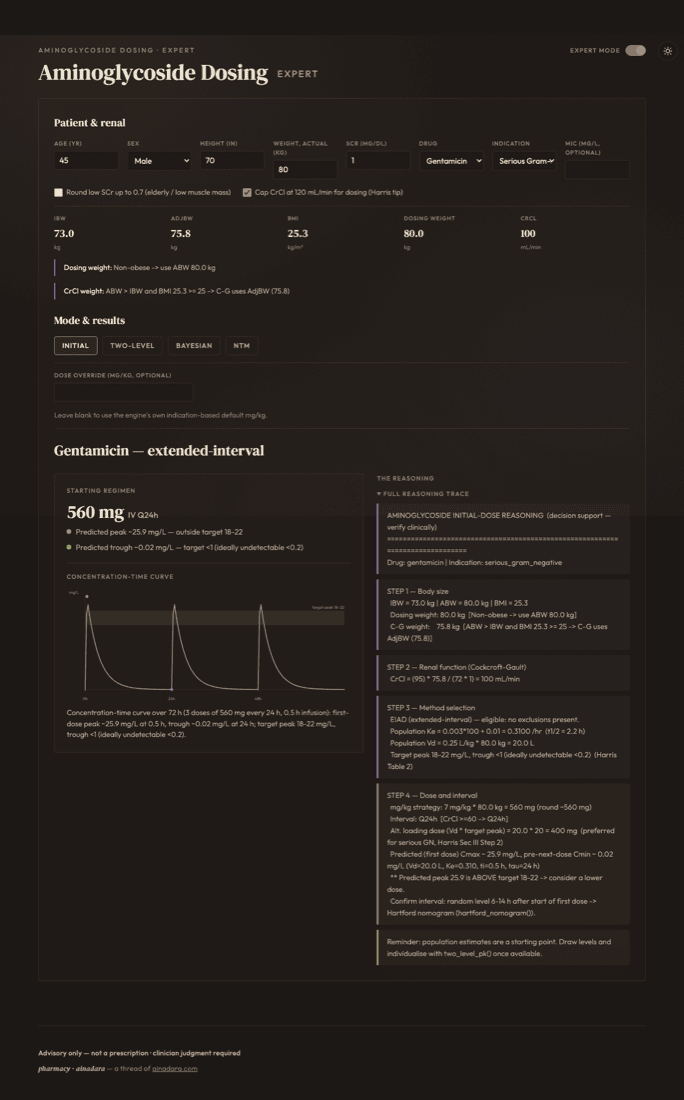
The same patient and renal fields, but on one dense screen instead of five: four tabs — Initial · Two-level · Bayesian · NTM — sit over the shared store, so switching between them never re-enters data. Built for the repeat user who already knows the wizard and wants the fast path.
Initial, Two-level, Bayesian, and NTM are the same four computation paths from the Method and Dose / Levels steps — just reachable as tabs rather than a sequence, over the one patient record.
Denser is not a shortcut around judgment: the advisory framing and target-band checks are identical to the wizard's — Expert mode trades screens for speed, not safety margin.